Desinfektan Cap Gadjah Sulfur Carbendazim & Fungisida Obat Penghilang Bau Amonia Kandang Biosecuriti no 1 sulfur carbendazim dosis rendah dan residue remover bio desulfurization sehingga ramah dan tidak mencemari lingkungan. Desinfektan Cap Gadjah Obat Penghilang Bau Amonia Kandang Obat Untuk Mengurangi gas Amonia, gas beracun, serta menjadikan kotoran tidak berbau sekaligus untuk sanitasi bio security Heat Stress Menekan pertumbuhan bakteri E-Coli, CRD & bakteri pathogen.
OBAT SEMPROT KANDANG CAP GADJAH

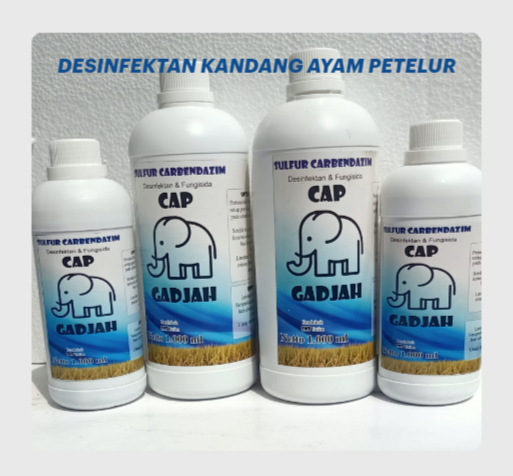
DESINFEKTAN CAP GADJAH SULFUR CARBENDAZIM
Biosecurity no.1
Ini adalah agent pembersih berbasis sulfur carbendazim dosis rendah & residue remover bio desulfurization sehingga ramah dan tidak mencemari lingkungan.
DESINFEKTAN CAP GADJAH SULFUR CARBENDAZIM & FUNGISIDA MENGHILANGKAN BAU AMONIA KANDANG UNGGAS
Berkinerja tinggi yang diformulasikan khusus untuk menghilangkan residu kimiawi mikroskopis, terutama dari penggunaan obat-obatan antibiotic yang larut bersama kotoran ternak termasuk metamfetamin, fentanil, heroin, oksikodon, dll. Juga efektif untuk infeksi jamur, protozoa, bakteri dan virus.
Diuji laboratorium & terbukti di lapangan.
OBAT SEMPROT PENGHILANG BAU AMONIA KANDANG AYAM DESINFEKTAN SULFUR CARBENDAZIM & FUNGISIDA CAP GADJAH
Aturan Pakai
Untuk Peternakan Ayam Petelur
Pertama kali semprot 5 hari berturut-turut saat sore hari dosis 3ml/ liter air,
Spray kabut untuk kotoran, ayam dan seluruh kandang,
Saat bau mulai berkurang artinya parasit spt amoeba, bakteri, jamur dan virus sudah mulai terkontrol,
Setelahnya bisa anda semprot seminggu sekali atau saat bau kandang sudah mulai terasa.
Obat Semprot Ayam Cap Gadjah
Untuk Ayam Broiler
Spray seluruh kandang sebelum chick in, spray seminggu 2x saat umur seminggu,
setiap hari saat umur 8- 18 hari, umur 19 sampai panen spray setiap hari 2x sehari pagi dan sore
FUNGISIDA & SULFUR CARBENDAZIM DESINFEKTAN CAP GADJAH
Untuk Pertanian Padi
Dosis 3ml/ liter air, spray saat olah lahan yakni 7hr sebelum tanam, 7hari setelah tanam,
dan setiap 2 minggu sekali total 4x selama musim tanam,
berfungsi menyehatkan tanah, pH buffer, mengendalikan virus dan jamur.
DESINFEKTAN SULFUR CARBENDAZIM & FUNGISIDA CAP GADJAH
Untuk Tanaman Sayur penting untuk spray saat pengolahan lahan 7 hari sebelum tanam
Untuk Tanaman Tahunan seperti pohon durian, pisang, mangga, karet dan sawit,
spray saat awal musim penghujan,
pertengahan dan ahir musim penghujan, saat yg paling ideal adalah ketika tanah dan pohon basah.
Souce : SNTgadjah
Obat Semprot Penghilang Bau Kandang Ayam Disinfektan Sulfur Carbendazim Cap Gadjah – Gresik